Introduction
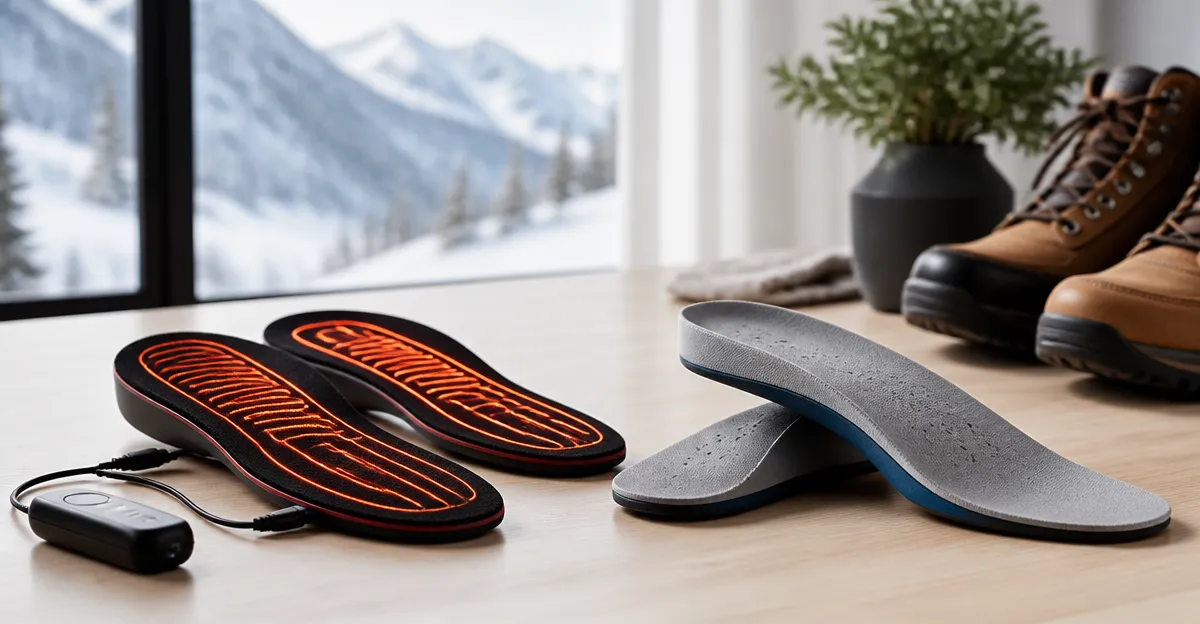
This guide explains how to integrate heated insoles with custom orthotics so that users can enjoy warmth without compromising foot support. It outlines the essential considerations for compatibility, proper fit, and safety precautions. Readers will learn which tools and products simplify the process and why each recommendation adds value. By following the instructions, one can maintain orthotic alignment while benefiting from reliable heat during winter activities.
What You Will Need
- Custom orthotic inserts designed for your footwear.
- Heated insole solution such as Thermrup Heated Insoles or a NASOLZIK model.
- Scissors or a precision cutting tool for trimming.
- Double‑sided carpet tape or adhesive strips for secure placement.
- Velcro straps or elastic gaiters supplied with the heated insole.
- Smartphone with the manufacturer app (optional for NASOLZIK models).
Step 1: Verify Orthotic Compatibility
The first step is to confirm that the dimensions of the heated insole will accommodate the custom orthotic. Measure the length and width of the orthotic and compare it to the heating surface specifications, for example the Thermrup model provides an 18 cm heating area that spans heel to toe. If the orthotic is thicker than the 6 mm profile of the heated insole, consider trimming the orthotic only if the manufacturer permits such modification. Maintaining the structural integrity of the orthotic is essential to preserve its corrective function.
Step 2: Prepare the Heated Insole
Begin by removing any protective film from the heated insole surface. For models with a rechargeable lithium‑ion battery, such as the Thermrup Heated Insoles (price $69.95, rating 4.3/5), ensure the battery is fully charged before proceeding. If the insole includes a detachable battery pack, attach it according to the user manual, making sure the cable lies flat against the underside. Some NASOLZIK heated insoles (price $39.98, rating 4.4/5) feature an app‑controlled battery; download the app by scanning the QR code and verify battery life on the smartphone.
Step 3: Trim the Orthotic if Necessary
When the orthotic exceeds the heating area, use a sharp pair of scissors to trim the excess material along the marked guide lines. The Thermrup insoles include trim guides that indicate where cuts can be made without affecting the heating element. NASOLZIK models also provide clear cutting guidelines on the packaging; follow them precisely to avoid damaging the internal heating wires. After trimming, test the fit by placing the orthotic inside a shoe to ensure there is no pressure point.
Step 4: Position the Heated Insole Over the Orthotic
Lay the custom orthotic on a flat surface and position the heated insole on top, aligning the heel and toe edges. Press gently to allow the adhesive side of the heated insole to bond with the orthotic surface; many users report that a thin layer of double‑sided carpet tape improves adhesion. Ensure the heating element covers the plantar surface uniformly, as uneven coverage can create hot spots. Verify that the battery cable exits the side of the insole without bending sharply, which could compromise durability.
Step 5: Secure the Assembly Inside the Footwear
Insert the combined orthotic and heated insole into the shoe, making sure the heel sits snugly against the shoe’s heel cup. If the shoe has a removable insole, replace it with the new assembly to maintain a low profile. Use the Velcro straps supplied with the heated insole to fasten the battery pack around the calf or ankle, as described in the Thermrup user guide. Adjust the strap tension so that the battery does not shift during movement, which could cause cable wear.
Step 6: Activate and Test the Heating Function
Power on the heated insole using the button located on the battery pack; most models cycle through four temperature settings. For Thermrup, a long press cycles from 25 % to 100 % heat before shutting off, providing clear tactile feedback. NASOLZIK users may prefer the smartphone app to select the desired level and monitor battery status in real time. Walk a short distance indoors to confirm that warmth is evenly distributed and that the orthotic remains stable.
Step 7: Optimize Battery Management
To extend battery life, operate the heated insole on the lowest comfortable setting for prolonged activities such as hiking or cycling. The Thermrup battery offers approximately 3 hours of heat on the highest setting and longer on lower settings, while NASOLZIK batteries can sustain up to 8‑9 hours on low heat. Recharge the battery after each use using the ETL‑certified charger supplied with the AQveriG model, if that product is chosen for its extended runtime. Store the battery in a cool, dry place when not in use to preserve capacity.
Tips & Pro Tips
- Always test the heated insole for a few minutes before embarking on a long outdoor excursion.
- Apply a thin layer of silicone spray to the orthotic surface before attaching the heated insole to improve slip resistance.
- For extreme cold, consider layering a thin moisture‑wicking sock beneath the heated insole to keep feet dry.
- If the battery strap irritates the skin, cover it with a soft cloth or replace it with a custom‑made elastic band.
Troubleshooting
Problem: The heated insole does not turn on.
Solution: Verify that the battery is fully charged and that the power button is engaged for at least two seconds. Check the cable for any kinks that might interrupt the connection.
Problem: Uneven heat distribution.
Solution: Ensure the heating element is not folded or creased during installation. Re‑align the insole and use additional tape to flatten any bubbles.
Problem: Battery drains rapidly.
Solution: Reduce the temperature setting and avoid using the highest level for extended periods. Confirm that the charger is providing the correct voltage as indicated on the charger label.
Conclusion
This guide has demonstrated how to combine heated insoles with custom orthotics while preserving corrective support and safety. By following the step‑by‑step process, users can enjoy sustained warmth during winter sports, outdoor work, or everyday activities. Selecting the appropriate heated insole—whether Thermrup, NASOLZIK, or AQveriG—ensures reliable performance and compatibility with individual foot requirements. One should continue to monitor battery health and maintain proper fit to achieve the best possible experience.
Products Mentioned in This Guide
Frequently Asked Questions
Can heated insoles be used with any custom orthotic?
Only if the heated insole’s dimensions accommodate the orthotic’s shape; verify size compatibility before installation.
Do I need to trim heated insoles to fit my orthotics?
Yes, use scissors or a precision cutter to trim the heated insole so it aligns perfectly with the orthotic without covering the arch.
How do I secure the heated insole to the orthotic?
Apply double‑sided carpet tape or adhesive strips, then use the provided Velcro straps or elastic gaiters for extra hold.
Is it safe to use heated insoles for extended periods?
Follow the manufacturer’s temperature limits and never exceed recommended usage time to prevent overheating or battery drain.
Do I need a smartphone app to operate the heated insoles?
An app is optional for models like NASOLZIK, allowing temperature control and battery monitoring, but many insoles work with built‑in buttons alone.