How to Retrofit Work PPE with Heated Liners: OSHA‑Compliant Step‑by‑Step Guide
This guide explains how one can transform existing personal protective equipment (PPE) into a thermally enhanced ensemble suitable for cold‑weather environments. Readers will learn why heated liners improve safety, how to install them while remaining OSHA‑compliant, and which tools streamline the process.
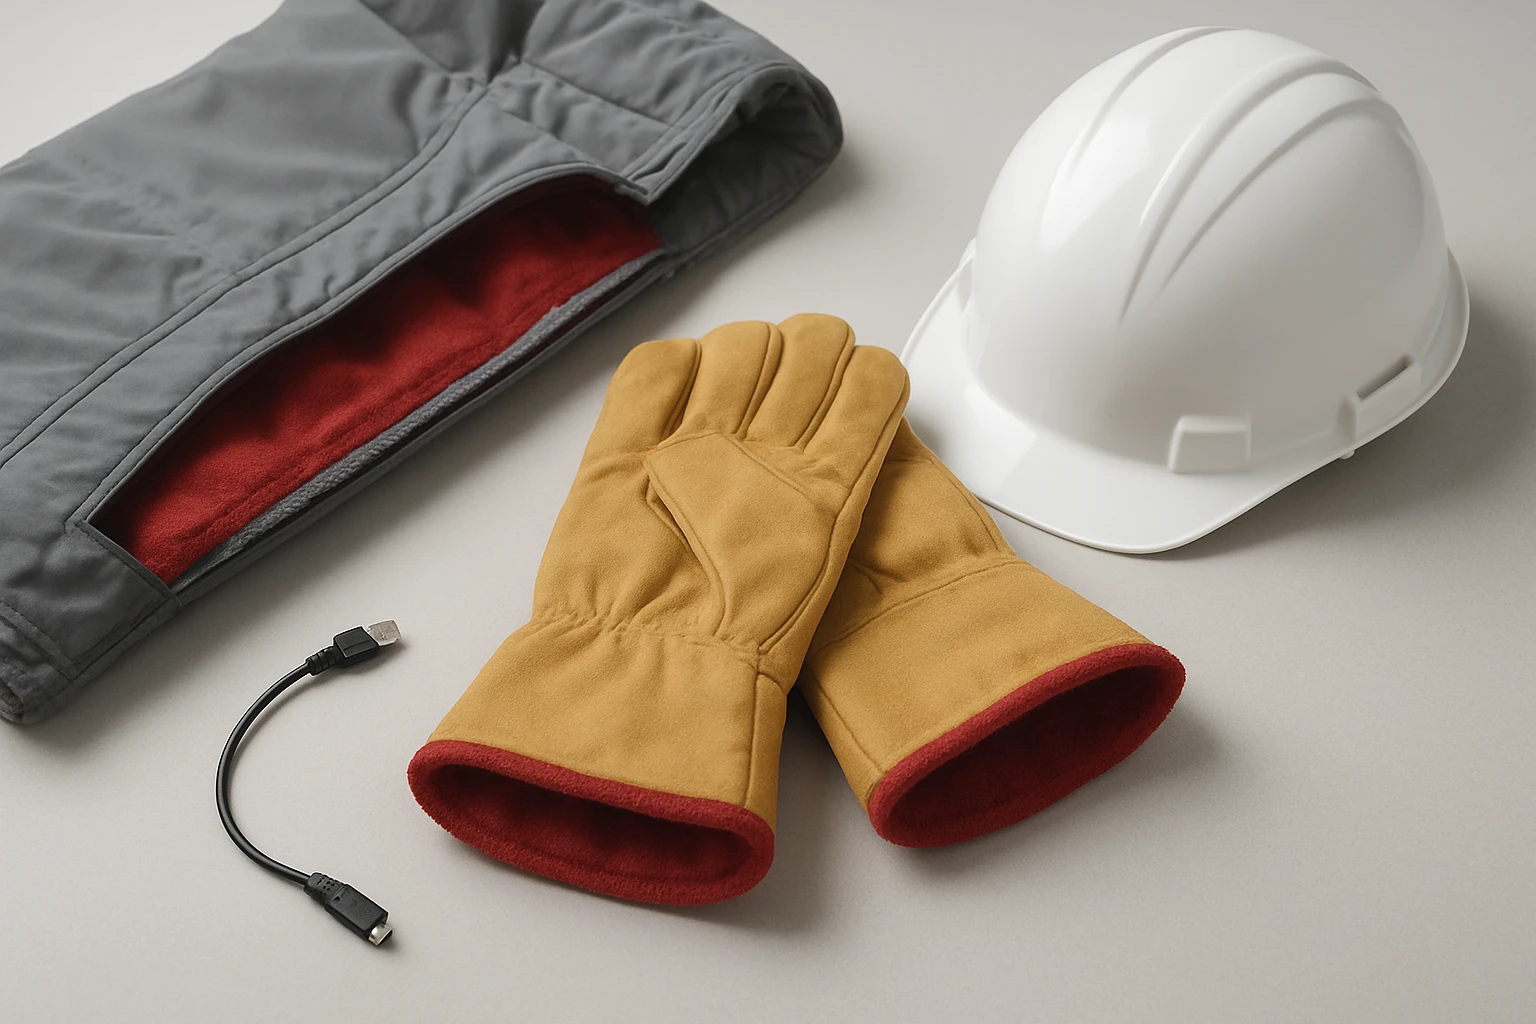
What You Will Need
- Mid‑range heated jacket liner (recommended product)
- Standard work jacket or outer shell
- 12 V power source (vehicle battery or portable power pack)
- Electrical connectors and heat‑shrink tubing
- Insulated wiring harness
- Multi‑meter for voltage verification
- Safety gloves and eye protection
Step 1 – Assess Compatibility and Safety Requirements
Before any modification, one must confirm that the existing outer jacket meets OSHA standards for the specific hazard class. The jacket should be flame‑resistant, abrasion‑resistant, and rated for the intended task. One should also verify that the heated liner will not compromise the garment’s protective ratings.
When the outer shell passes inspection, the next task is to determine whether the liner’s dimensions align with the interior space. Measure chest, shoulder, and arm length to ensure a snug but non‑restrictive fit. This prevents heat pockets that could cause overheating or reduced mobility.
Step 2 – Select the Appropriate Heated Liner
The MIDIAN Heated Jacket Liner offers six individually controlled heat zones, a 12 V power requirement, and a construction designed for motorcycle riders. Its features translate well to industrial use because the zones can be positioned over the back, chest, and sleeves, providing uniform warmth.
At $229.99, the liner carries a 4.2‑star rating from fourteen verified reviewers, indicating reliable performance in demanding conditions. The six heat zones allow one to activate only the areas that require heat, conserving battery life and reducing the risk of excessive temperature buildup.
Step 3 – Prepare the Power Supply
OSHA mandates that any electrical equipment used on the job site be properly insulated and grounded. One should select a 12 V power pack with a short‑circuit protection feature. Connect the power pack to the liner using marine‑grade connectors, which resist corrosion and vibration.
Before connecting, verify the power pack’s output voltage with a multi‑meter. The reading must remain within the 11.5 V–12.5 V range to avoid damaging the liner’s internal circuitry.
Step 4 – Install the Liner Inside the Outer Jacket
Lay the outer jacket flat on a clean surface. Slide the liner inside, aligning the heat zones with the corresponding body regions. The liner’s front zip should face outward to allow easy access to the control panel.
Secure the liner using lightweight, heat‑resistant stitching or industrial Velcro strips. Avoid sewing through the heating elements, as this could create short circuits. One should also leave a small opening for the power cable to exit the jacket without pinching.
Step 5 – Route and Protect the Power Cable
Guide the power cable along the interior seam of the jacket, using heat‑shrink tubing to protect exposed conductors. The tubing should be applied with a heat gun, ensuring a tight seal that prevents moisture ingress.
Exit the cable near the jacket’s collar, where it can be connected to the power pack without interfering with the wearer’s range of motion. Use a cable clamp to anchor the cable and prevent accidental tugging.
Step 6 – Test Functionality and Safety Features
With the liner fully installed, power on the unit and verify that each heat zone responds to the control panel. One should measure surface temperature with an infrared thermometer, confirming that no zone exceeds the manufacturer’s recommended maximum of 55 °C (131 °F).
If any zone registers an abnormal temperature, disconnect the power immediately and inspect the wiring for damage. Replace any compromised components before proceeding.
Step 7 – Conduct an OSHA Compliance Check
After installation, perform a final inspection to ensure that the modified PPE still meets all applicable OSHA standards, including electrical safety, flame resistance, and ergonomic suitability. Document the modification process, including product specifications, installation steps, and test results, for future audits.
Maintain a copy of the documentation in the workplace safety folder, as required by OSHA 1910.132 for PPE modifications.
Tips & Pro Tips
- Use a battery pack with a built‑in low‑voltage cutoff to prevent over‑discharge.
- When working in extreme cold, pre‑heat the liner for five minutes before donning the jacket.
- Label each heat zone control with a clear marker to avoid confusion during rapid adjustments.
- Store the power pack in a insulated container when not in use to preserve battery performance.
Troubleshooting
Problem: One or more heat zones do not activate
Check the connector pins for corrosion or loose contact. Clean the pins with isopropyl alcohol and reseat the connector.
Problem: Excessive heat in a zone
Immediately turn off the liner and allow it to cool. Verify that the control panel is set to the correct temperature setting and that the zone’s sensor is not obstructed.
Conclusion
By following this OSHA‑compliant procedure, one can successfully retrofit existing work PPE with a heated liner, thereby enhancing comfort and productivity in cold environments. The guide has covered assessment, product selection, installation, testing, and documentation, ensuring that safety remains paramount.
Products Mentioned in This Guide
Frequently Asked Questions
What is a heated liner and why retrofit it onto work PPE?
A heated liner is an electrically powered insert that provides warmth in cold environments, improving worker comfort and reducing the risk of cold‑related injuries.
How can I ensure the retrofit remains OSHA‑compliant?
Confirm the outer jacket still meets OSHA’s flame‑resistant, abrasion‑resistant, and hazard‑class ratings and verify the liner does not alter those protective properties.
What tools and materials are needed for installing a heated liner?
You’ll need a mid‑range heated jacket liner, the work jacket, a 12 V power source, electrical connectors, heat‑shrink tubing, insulated wiring, a multimeter, and safety gloves and eye protection.
How do I verify the electrical safety of the heated liner after installation?
Use a multimeter to check voltage and continuity, ensure all connections are insulated with heat‑shrink tubing, and test for any short circuits before regular use.
Can any work jacket be used with a heated liner, or are there compatibility limits?
Only jackets that meet the required OSHA ratings and have sufficient interior space for the liner should be used; incompatible jackets may compromise safety or performance.