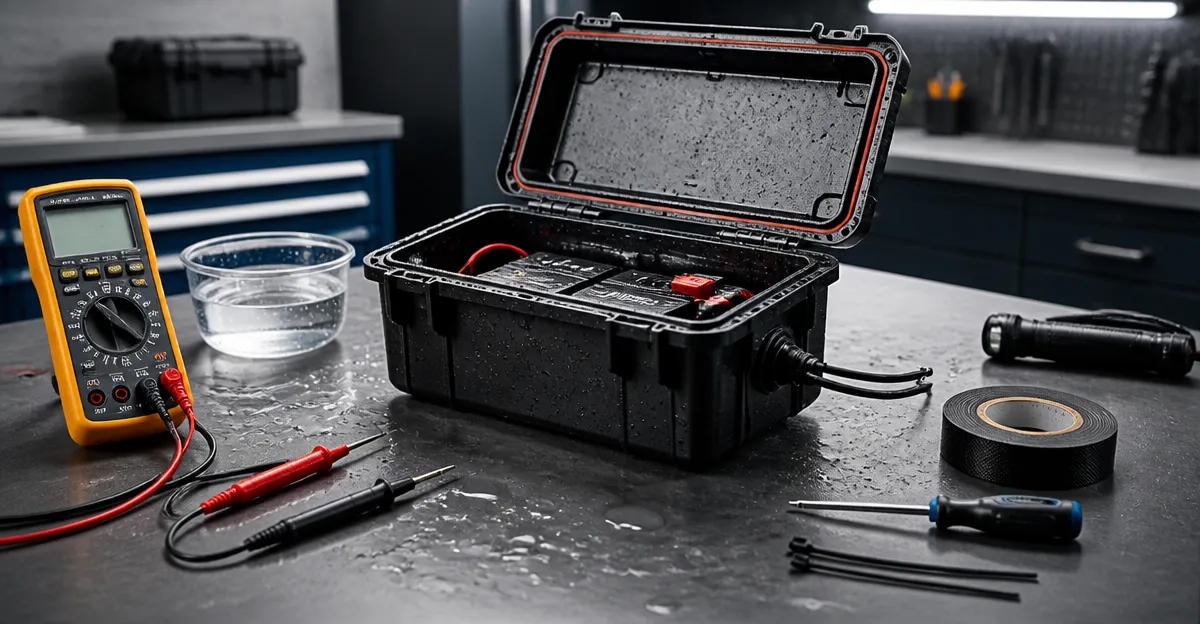
How to Test and Waterproof a Heated Clothing Battery Compartment: Step-by-Step DIY Safety Guide
Introduction
Heated apparel provides essential warmth during cold‑weather activities, but the battery compartment can become a point of failure if it is not properly inspected and sealed. This guide explains how to evaluate the performance of a heated clothing battery and how to apply reliable waterproofing techniques that preserve functionality. Readers will learn safe testing procedures, effective sealing methods, and troubleshooting tips that prevent moisture‑related damage. By following these steps, one can extend the service life of expensive battery packs while maintaining consistent heat output.
The information presented is based on real‑world feedback from users of several popular battery packs, including models from OKZU, ColdBye, Lyzuepely, and CYCYHEAT. Understanding the specifications of each pack helps to select the right tools for the job. The guide remains useful even if the reader chooses not to purchase any recommended product, but the suggested items streamline the process and reduce risk.
What You’ll Need
- Multimeter capable of measuring voltage and continuity – essential for verifying battery output.
- Silicone sealant or waterproof tape designed for electronics – provides a flexible barrier against moisture.
- Heat‑shrink tubing (2 mm – 4 mm) with a reliable heat gun – creates a durable, insulated seal around connectors.
- USB‑C charging cable compatible with the battery pack – required for recharging during testing.
- Protective gloves and safety glasses – safeguard against accidental short circuits.
- OKZU 20000mAh Heated Vest Battery – a high‑capacity, lightweight power bank for 5 V heated garments.
- OKZU 10000mAh Heated Vest Battery – a compact option for short‑duration outings.
- ColdBye 7.4V Heated Vest Battery – provides higher voltage for premium heated jackets.
- Lyzuepely 10000mAh Heated Vest Battery – features automatic power‑on when connected to heated clothing.
- CYCYHEAT 10000mAh Heated Vest Battery – UL‑certified for travel safety.
Step 1: Visually Inspect the Battery Compartment
Begin by removing the battery pack from the garment and examining the compartment for signs of corrosion, loose wires, or cracked seals. Use a flashlight to highlight any discoloration that may indicate water ingress. If the battery case shows dents or broken gaskets, plan to replace the gasket or apply additional sealant before proceeding. This visual check prevents wasted effort on a unit that is already compromised.
For users of the OKZU 20000mAh Heated Vest Battery, the 15‑layer protection system often masks minor surface damage, making a careful inspection especially important. The same applies to the ColdBye 7.4V Heated Vest Battery, whose dual‑voltage ports can accumulate moisture around the connector pins.
Step 2: Measure Voltage and Continuity
Set the multimeter to DC voltage and connect the probes to the battery’s output terminals. A healthy 5 V pack should read between 4.9 V and 5.1 V under no‑load conditions; the ColdBye model will display 7.4 V on its dedicated port. Record the values for future reference. Next, switch the multimeter to continuity mode and probe the connector pins; a continuous beep indicates an intact circuit, while a lack of continuity suggests a broken trace.
Testing the OKZU 10000mAh Heated Vest Battery is useful because its lightweight design can sometimes lead to loose solder joints after frequent pocket‑carrying. Verify that the voltage remains stable after a brief load test—connect a low‑power LED strip for 30 seconds and observe any voltage drop.
Step 3: Perform a Load Test
Connect the battery to a heated vest set to its medium temperature setting, then monitor the temperature rise over five minutes. Simultaneously, attach a USB‑C cable to a smartphone to assess simultaneous charging capability. If the vest maintains heat without the battery voltage falling below 4.8 V, the pack passes the load test. Document the runtime; the OKZU 20000 mAh model typically provides up to 14 hours of continuous heat, while the 10000 mAh version offers around 7 hours.
When testing the Lyzuepely 10000mAh Heated Vest Battery, note its automatic power‑on feature; the battery will start heating as soon as the vest is connected, eliminating the need to press a switch. This behavior should be observed during the load test to confirm proper functionality.
Step 4: Apply Waterproof Sealant
Choose a silicone sealant that remains flexible after curing. Apply a thin bead around the perimeter of the battery’s exterior case, focusing on seams, the USB‑C port, and any vent openings. Use a toothpick to spread the sealant evenly, ensuring no gaps. Allow the sealant to cure for at least four hours, as recommended by the manufacturer, before re‑installing the battery.
For the CYCYHEAT 10000mAh Heated Vest Battery, the UL‑2056 certification indicates that the internal circuitry can tolerate mild moisture, but external sealing still adds a protective layer for harsh environments such as ski slopes or rainy stadium seats.
Step 5: Reinforce Connectors with Heat‑Shrink Tubing
Cut a piece of heat‑shrink tubing slightly longer than the connector’s exposed metal. Slide the tubing over the connector before attaching it to the vest, then use a heat gun to shrink the tubing uniformly. This creates a watertight barrier while preserving the flexibility needed for movement. Verify that the tubing does not interfere with the vest’s fabric or cause pinching.
The ColdBye battery’s dual‑voltage port benefits from this technique because the larger 3.5 mm and 3.8 mm plugs can be sealed individually, preventing water from entering the higher‑voltage channel.
Step 6: Final Verification and Re‑assembly
After the sealant and heat‑shrink have cured, reinstall the battery into the garment’s compartment. Perform a brief functional test by turning the vest on for one minute and checking for any abnormal heating or unusual noises. Then, expose the assembled unit to a light mist (e.g., a spray bottle) to confirm that no water penetrates the sealed areas. If the battery maintains its voltage and the vest continues to heat, the waterproofing process is successful.
Document the final runtime and compare it with the initial load test results; a minimal reduction indicates that the sealing did not impede power delivery. Users of the ColdBye 7.4V Heated Vest Battery often notice a slight increase in efficiency because the seal reduces thermal losses from the battery casing.
Tips & Pro Tips
- Always test the battery in a well‑ventilated area; lithium‑polymer cells can emit gases if damaged.
- Use a USB‑C cable with a 5 V / 2 A rating to match the specifications of the OKZU packs; undersized cables may cause voltage drop.
- When applying silicone, avoid excess that could seep into the battery’s vent; a thin, even layer is sufficient.
- Consider adding a small piece of waterproof fabric inside the compartment as an extra barrier for prolonged exposure.
- Store the battery at 20 °C – 25 °C when not in use; extreme temperatures accelerate capacity loss.
Troubleshooting
Problem: Battery voltage drops sharply after sealing.
Solution: Check that the silicone has not entered the connector pins. Remove the sealant, clean the pins with isopropyl alcohol, and re‑apply a narrower bead.
Problem: Heated vest does not turn on despite a full charge.
Solution: Verify that the vest is compatible with the battery’s voltage. The OKZU models operate only at 5 V; attempting to power a 7.4 V jacket will result in no heat output. Use the ColdBye pack for higher‑voltage garments.
Conclusion
Testing and waterproofing a heated clothing battery compartment requires careful inspection, accurate voltage measurement, and proper sealing techniques. By following the six detailed steps, one can ensure reliable performance even in wet environments such as winter sports, outdoor concerts, or emergency situations. The recommended products—selected for their safety features, capacity, and user‑rated reliability—simplify each phase of the process while offering cost‑effective solutions.
Implementing these practices not only extends the lifespan of expensive battery packs but also enhances personal safety by preventing electrical shorts and heat loss. Readers are encouraged to apply the guide to their own gear and share feedback for continuous improvement.
Products Mentioned in This Guide
Frequently Asked Questions
How can I safely test a heated clothing battery for leaks?
Use a multimeter to check voltage and resistance, then submerge the sealed compartment in a shallow water bath for a few minutes while monitoring for voltage drop.
What waterproofing material works best for battery compartments?
Silicone sealant and heat‑shrink tubing are the most reliable, providing a flexible, water‑tight barrier without interfering with electrical contacts.
Do I need to remove the battery before applying sealant?
Yes, remove the battery pack, seal the compartment, let the sealant cure fully, then reinstall the battery to avoid damaging the cells.
How often should I inspect the waterproof seal on my heated apparel?
Inspect the seal before each season or after any exposure to heavy rain or snow, looking for cracks, peeling, or moisture inside the compartment.
Can I use regular tape to waterproof the battery compartment?
Regular adhesive tape is not recommended; it can lose adhesion when wet, whereas specialized waterproof tape or silicone offers lasting protection.