How to Repair Heated Gloves Wiring: Step‑by‑Step DIY Guide to Fix and Test
Introduction
The reader will learn how to identify common faults in heated glove wiring, how to replace damaged conductors, how to create reliable solder joints, and how to verify proper operation before use. This knowledge is valuable because heated gloves are expensive personal safety items that often fail due to flex fatigue or moisture intrusion. By following a systematic approach, one can extend the service life of the gloves and avoid costly replacements. The guide presents professional techniques while remaining accessible to an intermediate DIY audience.
What You'll Need
- Precision screwdriver set for opening glove seams.
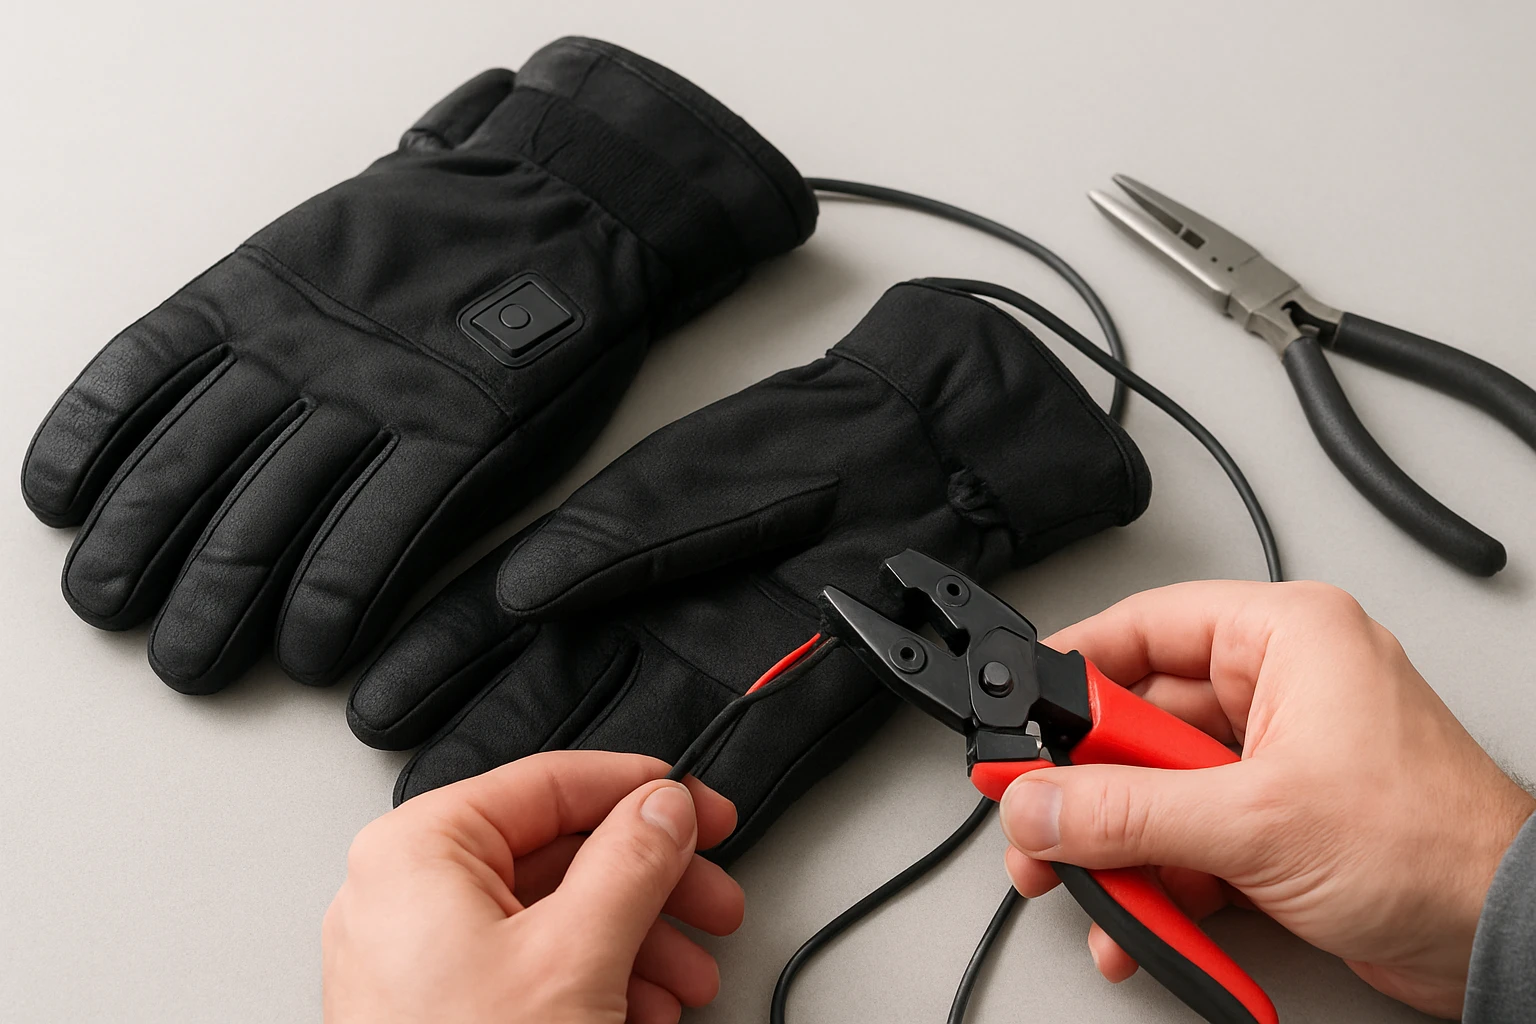
- Wire strippers and small pliers.
- Heat‑shrink tubing (2 mm and 3 mm).
- Multimeter for continuity testing.
- Soldering iron and accessories (recommended: TOWOT 60W Soldering Iron Kit).
- Optional temperature‑controlled soldering station (recommended: Q‑MING 100W Digital Soldering Iron Kit).
- Bench‑top heat source for reflow testing (recommended: AMI PARTS 8‑Inch Electric Range Burner).
- Safety glasses and heat‑resistant gloves.
Step 1: Assess the Damage
Begin by examining the glove for visible cuts, discoloration, or exposed wire. Use a magnifying lens to locate any broken strands or cold‑solder joints near the cuff and fingertip zones. Record the locations on a piece of paper to create a repair map. This assessment prevents unnecessary disassembly and focuses effort on the actual fault points.
Step 2: Open the Seams Carefully
Insert a small flathead screwdriver between the fabric layers at the identified fault area. Gently pry the seam apart without tearing the surrounding material. If the glove is stitched, cut the thread with a fine pair of scissors, keeping the cut as short as possible. Maintaining the integrity of the fabric will simplify re‑sewing after the repair.
Step 3: Strip and Prepare the Conductors
Use wire strippers to remove approximately 3 mm of insulation from each damaged conductor. Twist the exposed strands lightly to prevent fraying. Apply a small amount of flux from the soldering kit to improve solder flow. Proper preparation is essential for a strong mechanical and electrical bond.
Step 4: Solder the Connections
Heat the soldering tip of the TOWOT 60W Soldering Iron Kit to the recommended 350 °C setting. The kit includes a temperature‑adjustable iron, a soldering stand, and a selection of fine tips, which together provide precise heat control for delicate glove wiring. Apply solder to the joint, ensuring that the molten metal fully surrounds both conductors. Allow the joint to cool naturally for at least ten seconds before handling.
Step 5: Insulate the Solder Joint
Slide a piece of 2 mm heat‑shrink tubing over the repaired joint. Use the AMI PARTS 8‑Inch Electric Range Burner as a localized heat source; its 2100 W output provides rapid, even heating without direct flame. Position the tubing under the burner flame for two to three seconds until it contracts tightly around the solder. This insulation protects the joint from moisture and mechanical stress.
Step 6: Re‑assemble the Glove
Align the opened seam and use a needle and strong polyester thread to stitch the fabric back together. For added durability, apply a thin bead of fabric glue along the seam interior. Ensure that the repaired area does not create a bulk that could cause discomfort during wear. A neat seam restores the glove's original appearance and function.
Step 7: Test Continuity with a Multimeter
Set the multimeter to the continuity mode and place one probe on the power source lead and the other on the fingertip electrode. A continuous beep indicates a successful repair. Repeat the test for each repaired segment to verify that no open circuits remain. This verification step prevents unexpected failure during use.
Step 8: Perform a Functional Heat Test
Connect the glove to its battery pack and activate the heating mode. Place the glove on the AMI PARTS 8‑Inch Electric Range Burner for a brief period to simulate a cold environment, then observe temperature rise. Use the digital display of the Q‑MING 100W Digital Soldering Iron Kit to monitor the exact temperature of the heating element, ensuring it reaches the manufacturer's specifications. A consistent temperature across all fingers confirms a successful repair.
Tips & Pro Tips
- Work in a well‑ventilated area to avoid inhaling solder fumes.
- Use anti‑static wrist straps when handling electronic components to prevent electrostatic discharge.
- When applying heat‑shrink tubing, avoid overheating the surrounding fabric to prevent melting.
- Consider using a small amount of silicone sealant over the repaired joint for extra waterproofing.
Troubleshooting
No Heat After Repair: Verify that the battery pack is fully charged and that the power switch is functional. Check each solder joint with a multimeter for continuity; a cold joint may appear visually sound but still be open.
Intermittent Heating: Inspect the repaired sections for flex fatigue; repeated bending can cause micro‑cracks. Reinforce the conductors with additional heat‑shrink tubing and a thin layer of fabric glue.
Overheating or Burning Smell: Ensure that the soldering iron temperature does not exceed 400 °C, as excessive heat can damage the polymer insulation on the heating wires. Use the temperature‑controlled feature of the Q‑MING 100W Digital Soldering Iron Kit to stay within safe limits.
Conclusion
The reader now possesses a clear, methodical process for repairing heated glove wiring, from initial assessment to final functional testing. By employing the recommended tools, one can achieve reliable solder connections, durable insulation, and verified heating performance. This guide empowers the DIY enthusiast to extend the life of valuable heated apparel while maintaining safety standards. Continued practice will improve proficiency and confidence in similar electronic textile repairs.
Products Mentioned in This Guide
AMI PARTS 8‑Inch Electric Range Burner
Price: Not listed – high‑quality 2100 W, 240 V element with nickel‑chromium alloy for even heat distribution.
Rating: Not listed.
TOWOT 60W Soldering Iron Kit
Price: $21.99
Rating: 4.6/5.0 (7,310 reviews)
Features: Adjustable temperature 200‑450 °C, 60 W metal head, includes solder wick, desoldering pump, stand, and assorted tips.
Q‑MING 100W Digital Soldering Iron Kit
Price: $15.99
Rating: 4.5/5.0 (1,330 reviews)
Features: 100 W ceramic heater, LED temperature display 180‑500 °C, child‑lock password setting, four ventilation holes for rapid heat dissipation.
Frequently Asked Questions
What are the most common reasons heated glove wiring fails?
Typical failures stem from flex fatigue, broken conductors, and moisture intrusion that cause open circuits or shorted wires.
How do I test continuity in heated glove wires?
Use a multimeter set to continuity mode, probe each wire end-to-end, and listen for a beep or see a low resistance reading.
What basic tools do I need to repair heated glove wiring?
A precision screwdriver set, wire strippers, small pliers, a soldering iron with heat‑shrink tubing, and a multimeter are essential.
What’s the best way to make a reliable solder joint on the thin wires inside heated gloves?
Tin both wire ends, apply a small amount of solder quickly, and use heat‑shrink tubing to reinforce the joint once it cools.
How can I protect repaired connections from moisture and future damage?
Slide heat‑shrink tubing over each solder joint and apply a heat gun, then seal the glove seam with waterproof fabric glue or tape.