Introduction
This guide explains how a multi‑shift worker can design, install, and maintain a battery swap system that powers heated clothing throughout long work periods. It demonstrates why such a system improves productivity, reduces downtime, and enhances personal safety in cold environments. The reader will learn how to select appropriate power sources, integrate them with heated garments, and execute safe swap procedures. By following the steps, one can achieve reliable heat without frequent recharging interruptions.
What You’ll Need
- ORORO Women's Heated Vest – $149.99, 4.5/5 rating, USB‑C rechargeable battery.
- ORORO Men's Heated Vest – $149.99, 4.6/5 rating, same battery technology.
- Nilight Dual Battery Isolator Kit – $109.99, 4.2/5 rating, voltage‑sensitive relay.
- Blue Sea Systems Battery BusBar – $26.80, 4.6/5 rating, tin‑plated copper.
Step 1: Assess Power Requirements
The first action is to calculate the total wattage required to keep the heated vest operational for an entire shift. Each ORORO vest provides three heating zones and consumes approximately 8 W on low, 12 W on medium, and 16 W on high settings. For a 12‑hour shift at medium heat, the energy demand equals 12 W × 12 h = 144 Wh per vest. Multiply by the number of workers sharing a battery bank to determine the total capacity needed.
Having a clear energy budget allows one to select a battery bank that can deliver the required amp‑hours without excessive weight. The Nilight Dual Battery Isolator Kit is designed for 12 V systems and can manage up to 140 A, which comfortably supports multiple vests when paired with deep‑cycle auxiliary batteries.
Step 2: Choose the Heated Vest Model
Both the ORORO Women's Heated Vest and ORORO Men's Heated Vest share the same rechargeable battery pack, USB‑C charging, and lightweight puffer construction. The choice depends on fit and style; the functional performance is identical. The vest includes a built‑in battery that can be removed and swapped, making it ideal for a swap system.
Why these vests are recommended: they have a 3‑hour battery life on high heat, a durable outer shell, and a high customer rating (over 11,000 reviews). Alternatives lacking removable batteries would require disassembly each time, increasing downtime.
Step 3: Install the Dual Battery Isolator
Connect the primary vehicle or generator battery to the input terminals of the Nilight Dual Battery Isolator Kit. Then attach the auxiliary deep‑cycle battery to the output terminals. The built‑in voltage‑sensitive relay (VSR) automatically engages when the primary battery voltage rises above 13.3 V and disengages below 12.8 V, preventing the auxiliary battery from draining the starter battery.
The isolator’s IP66 rating ensures reliable operation in dusty or wet work sites, and its silicone‑sealed casing protects against vibration. Follow the kit’s wiring diagram: red (+) cable to the primary positive, black (–) cable to the primary negative, and ground the chassis as instructed.
Step 4: Mount the BusBar for Secure Connections
Use the Blue Sea Systems Battery BusBar to consolidate positive and negative connections from the auxiliary battery, the vest battery packs, and any additional accessories such as lights or heated gloves. The tin‑plated copper construction provides low resistance, and the included stainless screws secure the busbars to the battery terminals without the need for additional hardware.
Attach the positive busbar to the auxiliary battery’s positive post, and the negative busbar to the negative post. Then connect the vest battery leads to the busbars using the supplied ring terminals. This arrangement creates a tidy, high‑current distribution point that simplifies future maintenance.
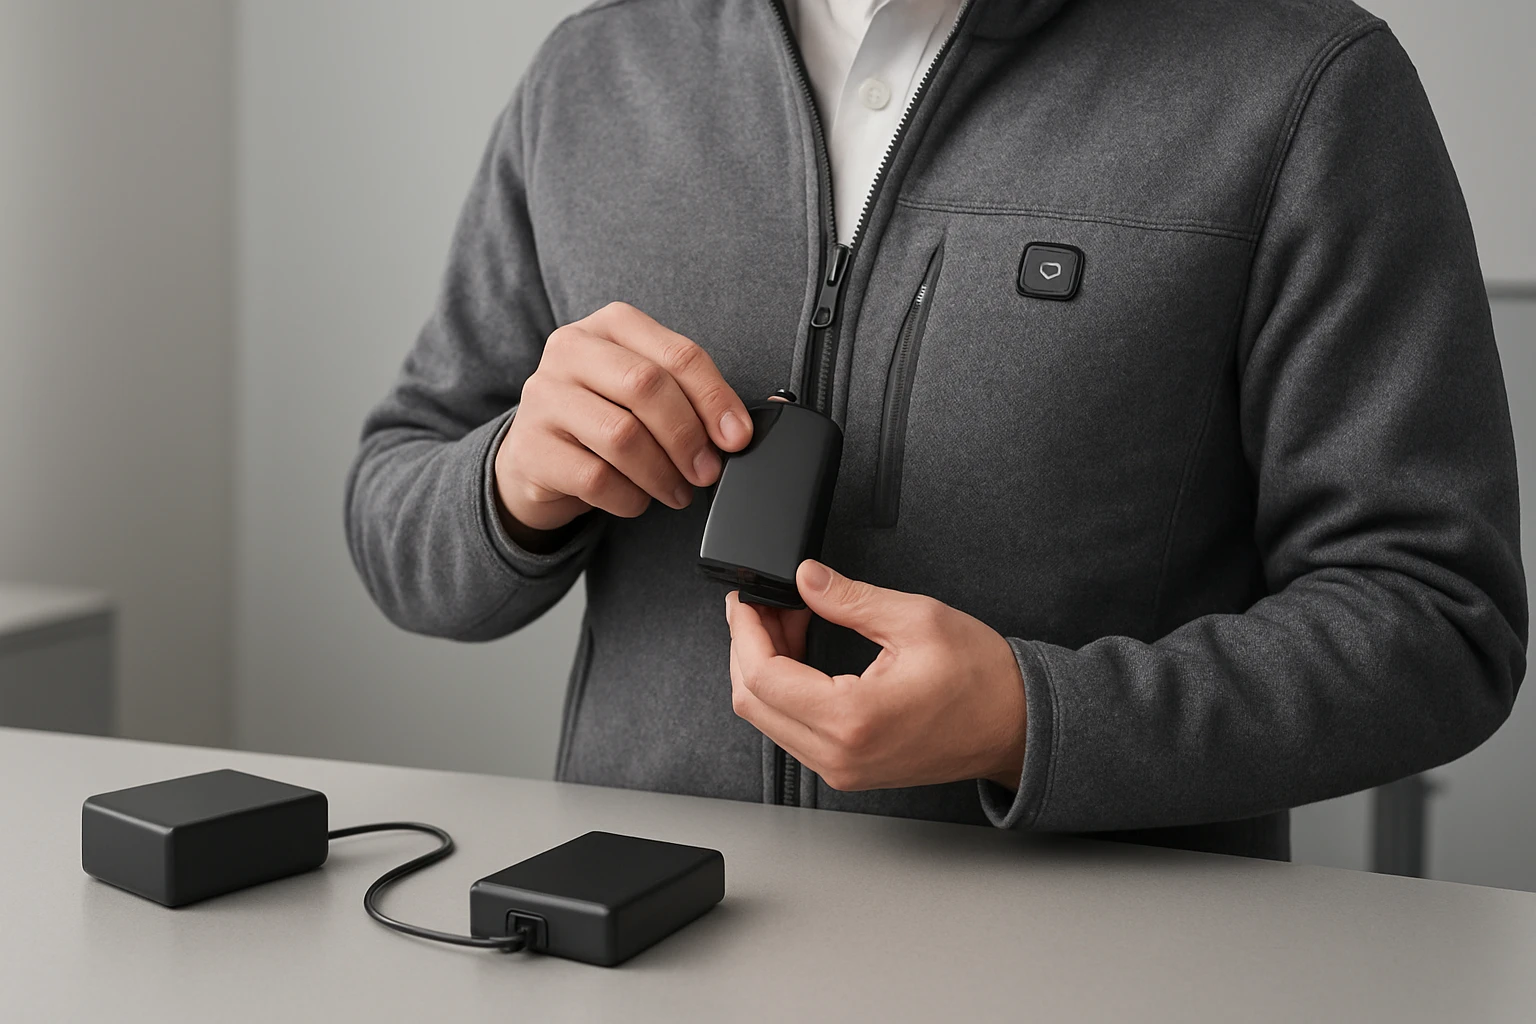
Step 5: Create a Swappable Battery Pack
Each ORORO vest contains a removable USB‑C battery pack. To enable rapid swapping, purchase spare battery packs of the same model (available directly from the manufacturer). Store fully charged spares in a insulated container near the work site.
When a vest battery depletes, disconnect the USB‑C connector, replace it with a fully charged pack, and re‑engage the vest. Because the vest battery is a sealed lithium‑ion cell, it does not require external wiring, reducing the risk of short circuits.
Step 6: Test the Complete System
Before the first shift, perform a full load test. Power both vests simultaneously at medium heat, and monitor the auxiliary battery voltage using a digital multimeter. The voltage should remain above 12.5 V for the entire test duration, confirming that the isolator is correctly charging the auxiliary battery while the vest draws power.
Record the time required to swap a battery pack. Aim for a swap time under 60 seconds to minimize exposure to cold environments. Adjust the placement of spare packs if the swap time exceeds the target.
Tips & Pro Tips
- Label each battery pack with its charge level using a waterproof marker; this prevents accidental use of depleted packs.
- Install a small solar panel (10 W) on the vehicle roof to provide trickle charging for the auxiliary battery during idle periods.
- Use heat‑shrink tubing on all exposed connections to protect against moisture and abrasion.
- Periodically calibrate the VSR by checking its activation voltage with a multimeter; a drift can cause premature battery discharge.
Troubleshooting
- Vest does not heat: Verify that the USB‑C battery pack is fully seated and that the vest’s power button is engaged. Check the battery pack voltage; a reading below 3.7 V indicates a depleted cell.
- Auxiliary battery drains quickly: Ensure the VSR is receiving proper voltage from the primary source. A faulty VSR may remain open, isolating the auxiliary battery from charging.
- Loose connections on busbar: Tighten the stainless screws and re‑apply a small amount of dielectric grease to prevent corrosion.
Conclusion
By following this step‑by‑step guide, a multi‑shift worker can implement a robust battery swap system that keeps heated clothing operational for extended periods. The combination of ORORO heated vests, the Nilight Dual Battery Isolator Kit, and the Blue Sea Systems BusBar provides a reliable, scalable solution. Proper planning, secure wiring, and regular testing ensure maximum uptime and personal safety in cold work environments.
Products Mentioned in This Guide
Frequently Asked Questions
What is a battery swap system for heated clothing and why is it useful for multi‑shift workers?
It’s a setup that lets you quickly replace depleted garment batteries with charged ones, minimizing downtime and keeping workers warm during long shifts.
Which type of battery is recommended for ORORO heated vests?
Both the men’s and women’s ORORO vests use a USB‑C rechargeable lithium‑ion battery that can be swapped using an isolator kit.
How does the Nilight Dual Battery Isolator Kit help with battery swapping?
The kit provides a voltage‑sensitive relay that safely disconnects the vest while you replace the battery, preventing short circuits.
What safety steps should be followed when swapping batteries on heated garments?
Turn off the vest, disconnect the old battery, use the isolator to isolate power, insert the fresh battery, and verify the vest powers on before resuming work.
How often should the battery swap system be inspected and maintained?
Inspect connections and battery condition at the start of each shift and perform a full check weekly to ensure reliable performance.