Introduction
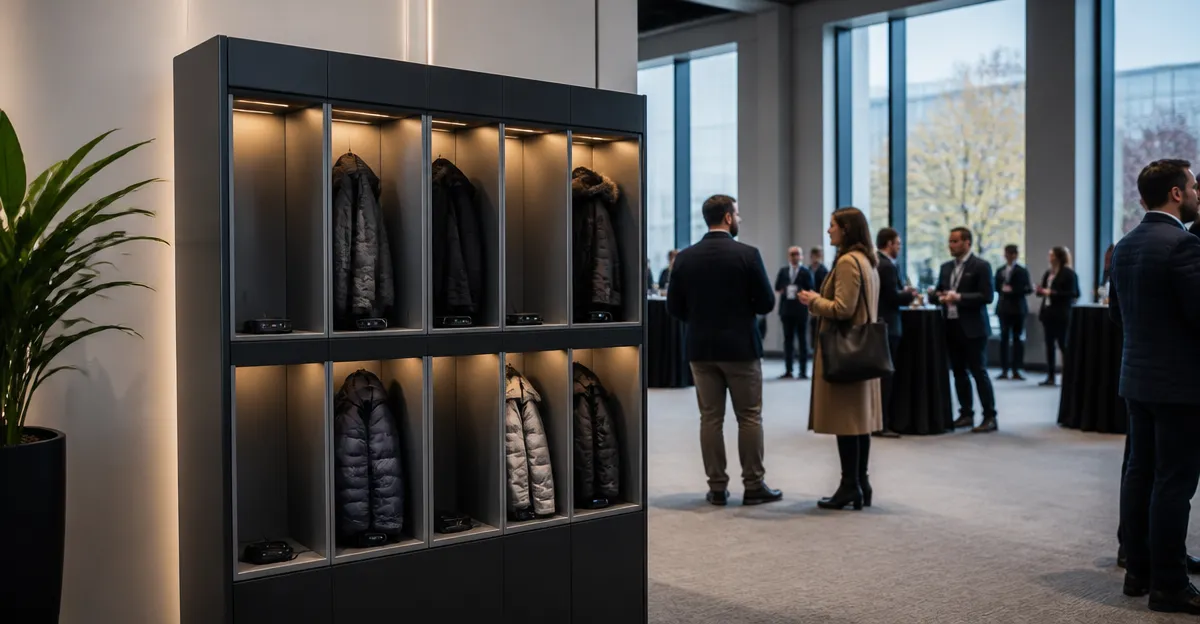
This guide explains how one can establish a heated‑clothing charging kiosk for events, ensuring that guests remain comfortable while their devices stay powered. The reader will learn how to assess venue requirements, select appropriate charging equipment, configure power distribution, and manage the kiosk during the event. By following the instructions, one can create a professional charging experience that enhances visitor satisfaction and reinforces brand visibility. The information is valuable for event planners, venue managers, and hospitality professionals who seek a reliable solution without extensive electrical work.
What You’ll Need
- Commercial‑grade floor‑standing or wall‑mounted charging station (see product recommendations below)
- Standard 120 V AC power outlet with adequate amperage
- Extension cords or power strips with surge protection
- Cable management accessories such as Velcro straps or zip ties
- Branding materials (logo stickers or acrylic panels)
- Basic tools: screwdriver, level, and measuring tape
Step 1: Assess Venue Power Capacity
Before installing any charging equipment, one must verify that the venue can supply sufficient electricity for the kiosk and other event loads. Locate the nearest wall outlet and check its rating; most commercial outlets provide 15 A at 120 V, which equals 1,800 W of available power. Calculate the total power draw of the chosen charging station by multiplying the number of ports by the per‑port output (typically 5 V × 2.4 A = 12 W per port). Ensure that the combined demand does not exceed 80 % of the outlet rating to maintain a safety margin.
Step 2: Choose the Appropriate Charging Station
Selecting the right charging station depends on event size, branding goals, and the types of devices that guests will bring. For high‑traffic venues such as airports, hotels, or large conference halls, the Delisivot Floor Charging Station offers eight built‑in cables (five Type‑C, two Lightning, one Micro‑USB) and a sturdy metal base that does not require wall mounting. Its integrated LED lighting improves visibility, and the acrylic front panel can display custom logos, making it an ideal choice for brand‑centric events. Priced at $335.00, it provides a cost‑effective solution with professional appearance.
When a more robust cable set is required, the KwikBoost Phone Charging Kiosk supplies eight braided cables (four Lightning, four USB‑C) that are MFi‑certified and tested for 220 lb pull strength and 100,000 bend cycles. Constructed from commercial‑grade acrylic and steel, this unit can endure heavy usage in busy lobbies or waiting rooms. Although priced at $609.00, the premium durability and custom branding graphics justify the investment for premium events.
For organizers who prefer a wall‑mounted solution to conserve floor space, the LETAOHUI 8‑Port Wall Charging Station provides three Type‑C, three Lightning, and two Micro‑USB ports, along with a complete installation kit. Its 4.9‑star rating from 20 reviews reflects high customer satisfaction, and the price of $137.90 makes it an economical choice for smaller venues or temporary pop‑up events.
Step 3: Prepare the Physical Location
Identify a high‑visibility area where guests naturally congregate, such as a lobby, registration desk, or near food service stations. Measure the floor space to ensure the charging station will not obstruct foot traffic. Use a level to confirm that a freestanding unit will stand upright without wobbling; the weighted base of the Delisivot model and the steel stand of the KwikBoost kiosk provide inherent stability.
If a wall‑mounted unit is selected, locate a stud or use appropriate anchors to secure the mounting brackets. The LETAOHUI station includes mounting screws and a template to simplify alignment. Ensure that the outlet is within the cable reach; if not, employ a certified extension cord with a built‑in surge protector to avoid voltage spikes.
Step 4: Install Power and Cable Management
Plug the charging station into the power source and verify that the indicator LEDs illuminate. For floor‑standing units, route the power cord along the base using Velcro straps to keep it tidy and prevent tripping hazards. If multiple stations are deployed, connect them to a single power strip with a high‑amperage rating, and label each strip for quick identification during the event.
Secure any loose cables with zip ties or cable clips, especially in areas where guests will move frequently. Proper cable management not only improves aesthetics but also reduces wear on the connectors, extending the lifespan of the equipment.
Step 5: Configure Branding and User Guidance
Attach custom branding graphics to the acrylic front panel of the Delisivot or KwikBoost units. The panels accept interchangeable inserts, allowing one to display logos, event sponsors, or safety instructions. For the wall‑mounted LETAOHUI station, use the supplied mounting bracket to position the unit at eye level, making the ports easily accessible.
Provide clear signage that explains how to use the kiosk, including any time limits or etiquette reminders. Simple icons indicating the type of cable (Lightning, Type‑C, Micro‑USB) help guests quickly identify the correct connector, reducing confusion and line formation.
Step 6: Test Functionality and Safety Features
Before the event opens, conduct a comprehensive test of each port using a variety of devices (smartphones, tablets, wearable heaters). Confirm that each cable delivers a stable 5 V × 2.4 A output, and observe the LED indicators for any fault warnings. The UARELVA model, for example, incorporates internal circuit protection that prevents over‑voltage and short‑circuit conditions; similar safeguards are present in the other units.
If any port fails to charge, consult the troubleshooting section below. Verify that the power outlet is not overloaded by measuring the total current draw with a clamp meter. Adjust the number of active stations if necessary to stay within safe limits.
Step 7: Staff Training and Operational Oversight
Brief event staff on how to assist guests who encounter charging difficulties, such as devices that do not recognize the cable or require a different connector. Equip staff with spare cables if the chosen station does not include all cable types; the KwikBoost kiosk already provides a full set of premium cables, reducing the need for additional accessories.
Assign a staff member to monitor the kiosk throughout the event, ensuring that cables remain organized and that the unit does not become a target for vandalism. Regular visual inspections can catch loose connections before they cause downtime.
Tips & Pro Tips
- Place the kiosk near a seating area to encourage guests to stay longer, increasing dwell time and satisfaction.
- Use a portable battery backup (UPS) for events where power reliability is a concern; this prevents loss of charge during brief outages.
- Schedule a short cleaning routine between event sessions to remove dust and debris from the charging ports.
- Consider offering a QR code on the signage that links to a feedback form; guest input can guide future improvements.
Troubleshooting
Problem: A device does not charge when connected.
Solution: Verify that the cable matches the device’s connector type and that the port LED is illuminated. If the LED is off, check the power source and ensure the extension cord is firmly plugged in. Reset the station by unplugging it for 30 seconds, then reconnect.
Problem: The station overheats or shuts down.
Solution: Ensure the unit has adequate ventilation and is not placed against a wall or other heat‑generating equipment. Reduce the number of simultaneously charging devices if the total draw approaches the outlet’s limit.
Conclusion
By following the steps outlined above, one can successfully set up and operate a heated‑clothing charging kiosk that enhances guest experience and reinforces brand presence. Proper assessment of power capacity, thoughtful product selection, meticulous installation, and proactive monitoring are the pillars of a reliable charging solution. Event organizers are encouraged to apply these practices to future events, adapting the configuration as venue size and audience needs evolve.
Products Mentioned in This Guide
Frequently Asked Questions
What power requirements are needed for a heated‑clothing charging kiosk?
A standard 120 V AC outlet with sufficient amperage (typically 15 A) and surge‑protected power strips are required.
How do I choose the right commercial‑grade charging station for an event?
Select a floor‑standing or wall‑mounted unit that supports multiple device types, offers rugged construction, and matches the venue’s foot traffic volume.
What safety measures should I implement when setting up the kiosk?
Use surge‑protected extensions, secure cables with Velcro or zip ties, and ensure the station is placed on a stable surface away from high‑traffic walkways.
How can I incorporate branding into the charging kiosk?
Apply logo stickers, custom acrylic panels, or wrap the unit with branded graphics to increase visibility and reinforce brand identity.
What are the best practices for managing the kiosk during the event?
Assign a staff member to monitor usage, keep cables tidy, and perform quick checks of power and device functionality throughout the event.