How to Measure Perceived Warmth vs Surface Temperature in Heated Garments: A Step‑by‑Step Testing Guide
Introduction
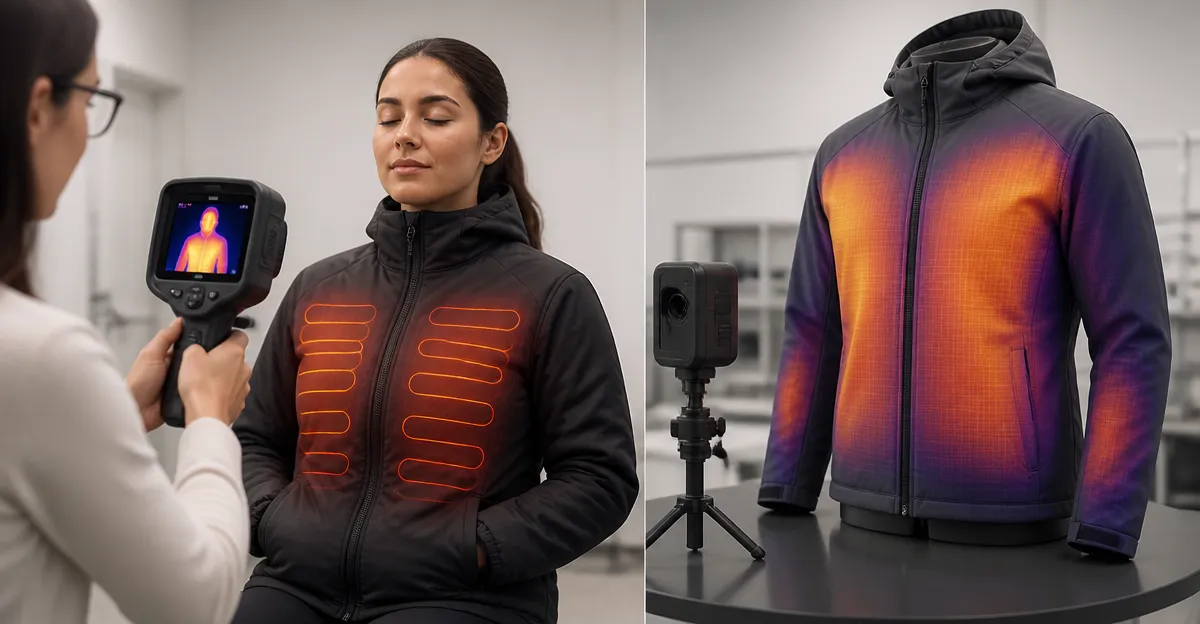
One will learn how to quantify the difference between subjective warmth sensations and objective surface temperature readings for heated apparel. This knowledge is valuable for product developers, outdoor enthusiasts, and anyone seeking evidence‑based comfort assessments. The guide presents a reproducible methodology that combines scientific measurement tools with real‑world heated garments. By following each step, the reader will obtain reliable data that can inform purchasing decisions or product improvements.
What You'll Need
- Infrared thermometer or contact temperature probe (not supplied).
- Data‑logging spreadsheet or notebook.
- Standardized environment (room temperature 20‑22°C, low wind).
- Three to five heated garments for testing.
- Power source compatible with each garment (battery packs or USB power banks).
- Volunteer participants for perceived warmth surveys.
The heated garments listed below serve as practical test subjects because they provide diverse heating technologies, price points, and user feedback.
Step 1: Prepare the Testing Environment
- Set the room temperature to a stable 20 °C using a thermostat; record the ambient temperature.
- Eliminate drafts by closing windows and doors; use a fan on low speed only to circulate air evenly.
- Place a non‑reflective mat on the floor to avoid infrared interference.
- Calibrate the infrared thermometer according to the manufacturer’s instructions before any measurements.
Maintaining a controlled environment ensures that surface temperature differences are attributable to the garment rather than external factors. This step does not require any of the recommended heated products, but a stable setting is essential for accurate data.
Step 2: Select and Power the Heated Garment
Choose a garment that matches the testing scenario. For a full‑body baseline, the Foern Heated Thermals Set provides integrated heating pads in both upper and lower body zones. It includes two 16000 mAh batteries, three temperature settings (104 °F‑149 °F), and 42 heating zones, making it ideal for measuring surface temperature across multiple regions. Priced at $89.99 with a 3.9‑star rating from 78 reviews, it offers a cost‑effective platform for baseline data.
Power the garment using its supplied batteries, ensuring they are fully charged. Record the battery voltage and the selected temperature setting. If testing a vest, the DR.PREPARE Heated Vest is a lightweight alternative that uses USB power. It features six carbon‑fiber elements, three heat levels (113 °F‑131 °F), and up to 150 minutes of continuous heating. At $54.99 and a 4.1‑star rating from 1,139 reviews, it demonstrates how USB‑powered designs perform under comparable conditions.
Step 3: Measure Surface Temperature
- Position the infrared thermometer at a distance of 10 cm from the garment surface; aim at the center of each heating zone.
- Take three readings per zone (chest, back, abdomen, thighs) and calculate the average.
- Document the temperature for each zone in a spreadsheet, noting the garment, battery level, and heat setting.
- Repeat the process for each garment, allowing a five‑minute stabilization period after changing settings.
For vest‑style testing, the KOVNLO Women's Heated Vest offers eight heating zones and a 5‑in‑1 smart controller. Priced at $49.99 with a 4.4‑star rating from 2,010 reviews, it allows precise zone‑by‑zone temperature capture. Its independent zone control helps isolate temperature variations caused by garment construction.
Step 4: Conduct Perceived Warmth Survey
- Recruit at least three volunteers of varying body types to wear each garment for ten minutes.
- Ask participants to rate perceived warmth on a 1‑10 Likert scale after each interval.
- Collect qualitative comments about comfort, fit, and heat distribution.
- Ensure participants remove the garment before rating the next one to avoid residual warmth.
The ORORO Women's Heated Vest is useful for this step because it includes a rechargeable 4800 mAh battery that provides up to ten hours of low‑heat operation. At $149.99 and a 4.5‑star rating from 11,109 reviews, it supplies a long‑duration heat source, allowing participants to experience sustained warmth without frequent recharging.
Step 5: Record and Analyze Data
- Enter all temperature averages and perceived warmth scores into a single table.
- Calculate the correlation coefficient between surface temperature and perceived warmth.
- Identify outliers where perceived warmth deviates significantly from measured temperature.
- Summarize findings in a brief report, highlighting which garment delivers the highest perceived warmth per degree of surface temperature.
The Loowoko Heated Hoodie includes a built‑in 10 000 mAh power bank, six heating zones, and three temperature levels (104 °F‑131 °F). Priced at $89.99 with a 4.1‑star rating from 170 reviews, it demonstrates how integrated power solutions affect perceived warmth over extended wear periods. Its hooded design also introduces head‑area heating, a factor that can influence overall warmth perception.
Tips & Pro Tips
- Allow a five‑minute warm‑up period after changing heat settings; this reduces temperature lag.
- Use the same volunteer for each garment when possible to control for individual metabolic differences.
- Record ambient humidity, as moisture can affect both infrared readings and human heat perception.
- When testing battery‑powered garments, note the remaining charge; lower battery levels can reduce heating efficiency.
- Consider adding a control garment (e.g., non‑heated base layer) to establish a baseline perceived warmth score.
Troubleshooting
- Inconsistent temperature readings: Verify that the infrared thermometer emissivity setting matches polyester or nylon fabric.
- Garment does not heat: Ensure batteries are fully charged and correctly inserted; for USB‑powered vests, confirm the power bank supplies at least 2 A output.
- Participant reports discomfort: Check for overly tight sizing; many heated garments, such as the Foern Heated Thermals Set, recommend selecting a size based on shoulder width and weight.
- Battery overheating: Follow manufacturer safety guidelines; the ORORO vest includes built‑in protection against overcurrent and overheating.
Conclusion
One has now acquired a systematic approach to compare perceived warmth with measured surface temperature across a range of heated garments. By controlling the environment, using reliable measurement tools, and gathering subjective feedback, the reader can derive actionable insights into garment performance. The methodology supports product comparison, design refinement, and informed purchasing decisions. Applying these steps consistently will enable accurate, repeatable assessments of any heated apparel.
Products Mentioned in This Guide
Frequently Asked Questions
What equipment is required to measure surface temperature of heated garments?
You need an infrared thermometer or contact temperature probe, plus a data‑logging method such as a spreadsheet.
How do I create a standardized testing environment?
Conduct tests in a room kept at 20‑22 °C with minimal airflow to reduce external temperature influences.
What is the best way to collect perceived warmth data from participants?
Use a short survey with a numeric rating scale (e.g., 1‑10) immediately after each garment trial.
How many heated garments should I test for reliable results?
Testing three to five different garments provides enough variation to identify trends without excessive effort.
Can I compare subjective warmth scores directly to surface temperature readings?
Yes, plot the participants’ warmth ratings against the recorded surface temperatures to see the correlation and quantify perceived warmth differences.