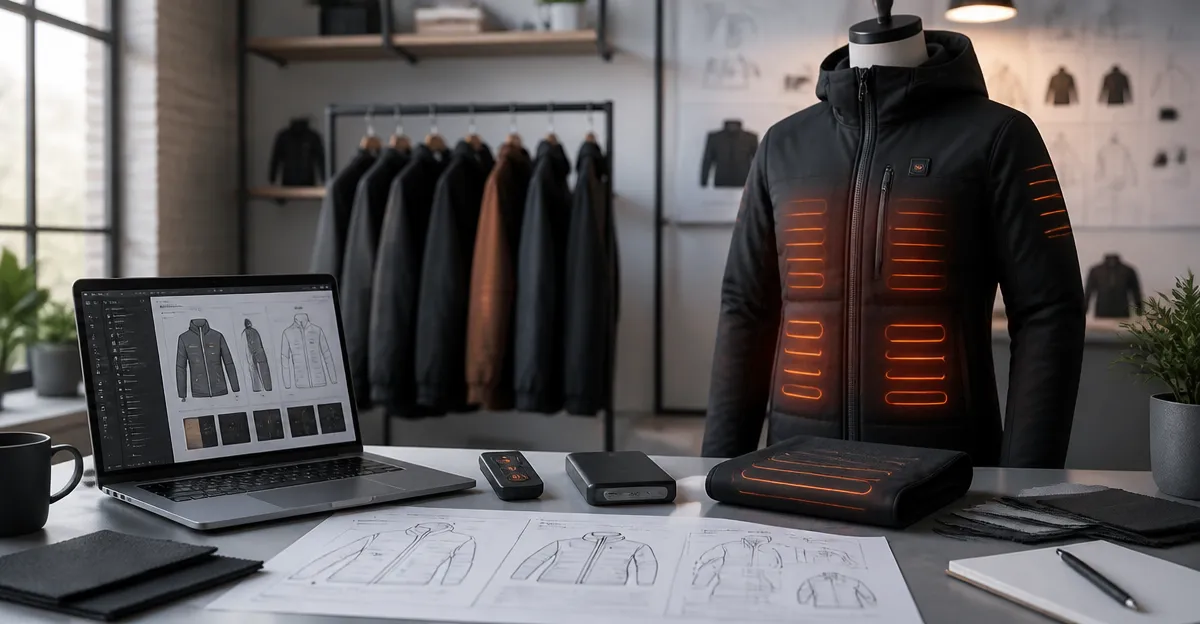
How to Launch a Heated Clothing Startup: The Ultimate MVP Checklist for Building and Validating Heated Apparel
In this guide the reader will discover a systematic approach to creating a minimum viable product (MVP) for heated clothing. The process covers market validation, component sourcing, prototype construction, performance testing, and go‑to‑market strategy. By following the checklist the founder can reduce risk, conserve capital, and accelerate time to market. The information is valuable because the heated apparel niche combines emerging wearable technology with seasonal demand, creating a fertile environment for innovative startups.
What You'll Need
- Basic sewing equipment and a small workspace for prototype assembly.
- Carbon‑fiber heating elements or pre‑built heated garments for reference.
- Power bank capable of delivering 5 V at 2 A or higher.
- Fabric testing tools such as a waterproofing spray and wind‑resistance gauge.
- Access to a reliable manufacturer that can handle electronic integration.
- Reference products for benchmarking performance and user experience.
Step 1: Conduct Targeted Market Research
The first step is to identify the specific customer segment that experiences the greatest pain point from cold exposure. Outdoor workers, winter commuters, and recreational athletes all represent viable audiences. Conduct surveys, interview potential users, and analyze competitor reviews on platforms such as Amazon. Pay particular attention to recurring themes in the positive and negative feedback of existing heated vests, because those insights reveal unmet needs.
For example, reviewers of the Soleilwear Heated Vest praised its nine heating zones and fast heating, yet some noted the bulk of the included power bank. This suggests an opportunity to design a slimmer power solution while retaining multi‑zone warmth. Capture these observations in a feature‑gap matrix to guide the MVP specification.
Step 2: Define the MVP Feature Set
Based on the research, select a concise set of features that deliver the core value proposition. An effective MVP for heated apparel typically includes:
- Three adjustable temperature settings (low, medium, high).
- At least four strategically placed heating zones covering the neck, back, and pockets.
- Water‑resistant outer shell and breathable inner lining.
- Removable or integrated power source with at least six hours of runtime on the low setting.
- Simple one‑button operation that works with gloves.
By limiting scope to these essentials the development team can iterate quickly. Reference the feature list of the ORORO Heated Vest, which offers four heating zones and a 4800 mAh battery delivering ten hours on low. Its balance of performance and price (US$149.99, rating 4.5/5) demonstrates a realistic benchmark for an MVP.
Step 3: Source Heating Elements and Materials
Carbon‑fiber heating elements are the industry standard because they provide rapid heat and durability. Purchase a small batch from a reputable supplier and test conductivity with a multimeter. Pair the elements with a lightweight, wind‑proof nylon‑polyester blend similar to the fabric used in the Soleilwear Heated Vest. The outer shell of that vest is waterproof and wind‑resistant, while the inner lining uses down‑cotton for added insulation.
When selecting insulation, consider FELLEX as used in the ORORO Heated Vest. FELLEX provides lightweight thermal retention without adding bulk, which aligns with the MVP goal of comfort under active movement.
Step 4: Build the Prototype
Begin by cutting the fabric pattern to accommodate the heating zones and battery pocket. Sew the outer shell and inner lining, leaving access points for the heating wires. Install the carbon‑fiber strips in the collar, mid‑back, and pocket areas, then connect them to a temperature controller board. The controller should feature a single button that toggles between the three heat levels, mirroring the user‑friendly design of the OAOA Heated Jacket. That jacket uses a dual‑button system, but a single‑button layout reduces complexity for early adopters.
Power the prototype with a 10000 mAh power bank similar to the one bundled with the Soleilwear Heated Vest (price US$119.99, rating 4.8/5). Verify that the bank provides at least 5 V output and includes USB ports for simultaneous device charging. Attach the bank in a zippered internal pocket to keep it secure while allowing easy removal for washing.
Step 5: Conduct Performance Testing and Validation
Testing should address heating efficiency, battery endurance, washability, and user comfort. Use a thermal camera to confirm uniform temperature distribution across the nine zones of the prototype, aiming for a target of 122 °F (50 °C) on the medium setting. Compare runtime against the specifications of the Soleilwear Heated Vest, which offers 10 hours on low, 6 hours on medium, and 4 hours on high. Document any temperature drop after repeated wash cycles to ensure durability.
Recruit a small group of target users—such as outdoor construction workers—and collect qualitative feedback on fit, ease of operation, and perceived warmth. The positive sentiment for the KOVNLO Heated Vest highlighted its slim cut and independent zone control, indicating that users value customizable heating. Incorporate similar controls if the feedback suggests a need for zone‑specific temperature adjustment.
Step 6: Secure Manufacturing and Supply Chain
Once the prototype meets performance criteria, engage a manufacturer experienced in integrating electronics into apparel. Provide detailed technical drawings, component lists, and quality‑control checkpoints. Negotiate minimum order quantities that align with projected demand, but retain flexibility for iterative improvements. Request sample production runs to verify that the stitching, seam sealing, and electronic encapsulation match the standards observed in the DR.PREPARE Heated Hooded Vest, which emphasizes machine‑washable construction and a removable hood for added versatility.
Establish a relationship with a battery supplier that can provide certified 5 V power banks meeting UL/CE standards. The Soleilwear Heated Vest includes a TSA‑approved battery, a feature that can differentiate the startup’s product in travel‑oriented markets.
Step 7: Launch, Market, and Iterate
Prepare a launch plan that leverages the unique selling points identified during research. Emphasize rapid heating, multi‑zone coverage, and lightweight design in marketing copy. Use high‑quality lifestyle images and video demonstrations that show the vest being worn under a work jacket, during a ski outing, and while commuting on a bicycle. Highlight the product’s water‑resistant shell, a characteristic praised in the reviews of the Soleilwear Heated Vest and the OAOA Heated Jacket.
Collect post‑launch data on conversion rates, return reasons, and customer satisfaction. Use this information to prioritize the next iteration of the product, such as integrating a slimmer battery pack or adding a dedicated hood as seen in the DR.PREPARE Heated Hooded Vest. Continuous improvement will sustain market relevance and foster brand loyalty.
Tips & Pro Tips
- Validate the heating zones with real users before finalizing the pattern; misplaced zones lead to wasted inventory.
- Choose a power bank with a built‑in LED indicator to simplify battery‑life monitoring for end‑users.
- Design the vest with a removable battery compartment to enable machine washing without risking damage to electronics.
- Consider offering an optional extra battery pack; reviewers of the ORORO Heated Vest frequently purchased a second pack for extended outings.
- Apply a DWR (Durable Water Repellent) coating to the outer fabric to enhance performance in rain or snow.
Troubleshooting
| Problem | Possible Cause | Solution |
|---|---|---|
| Heat does not activate | Battery not properly connected or power bank output insufficient. | Verify that the USB cable is seated fully and that the power bank delivers at least 2 A. Replace with a higher‑output bank if necessary. |
| Uneven temperature across zones | Improper placement of heating elements or damaged carbon‑fiber strips. | Inspect each heating element for continuity and reposition according to the prototype diagram. |
| Battery overheating | Insufficient ventilation around the battery pocket. | Introduce a breathable mesh lining and ensure the battery is not placed directly against heating pads. |
Conclusion
The checklist presented in this guide equips entrepreneurs with a clear roadmap to launch a heated clothing startup. By conducting focused market research, defining a lean MVP feature set, sourcing reliable heating components, and rigorously testing prototypes, founders can mitigate risk and accelerate product‑market fit. Leveraging existing products such as the Soleilwear Heated Vest and the ORORO Heated Vest provides valuable benchmarks for performance, pricing, and user expectations. With a disciplined launch strategy and ongoing iteration, a heated apparel startup can capture a growing market of cold‑weather consumers.
Products Mentioned in This Guide
Frequently Asked Questions
What is the first step in validating a heated clothing market?
Start by surveying target users and analyzing seasonal demand to confirm a pain point and willingness to pay.
Which components are essential for a heated apparel MVP prototype?
You need carbon‑fiber heating elements, a 5 V/2 A power source, basic sewing tools, and fabric testing supplies.
How can founders reduce risk when sourcing manufacturers?
Select a manufacturer experienced in electronic integration, request small‑batch samples, and verify their quality control processes.
What performance tests should be conducted on heated garments?
Test heating uniformity, battery life, waterproofing, and wind resistance to ensure comfort and safety.
What is an effective go‑to‑market strategy for a heated clothing startup?
Launch a limited pre‑order campaign, gather user feedback, and iterate the design before scaling production.