Introduction
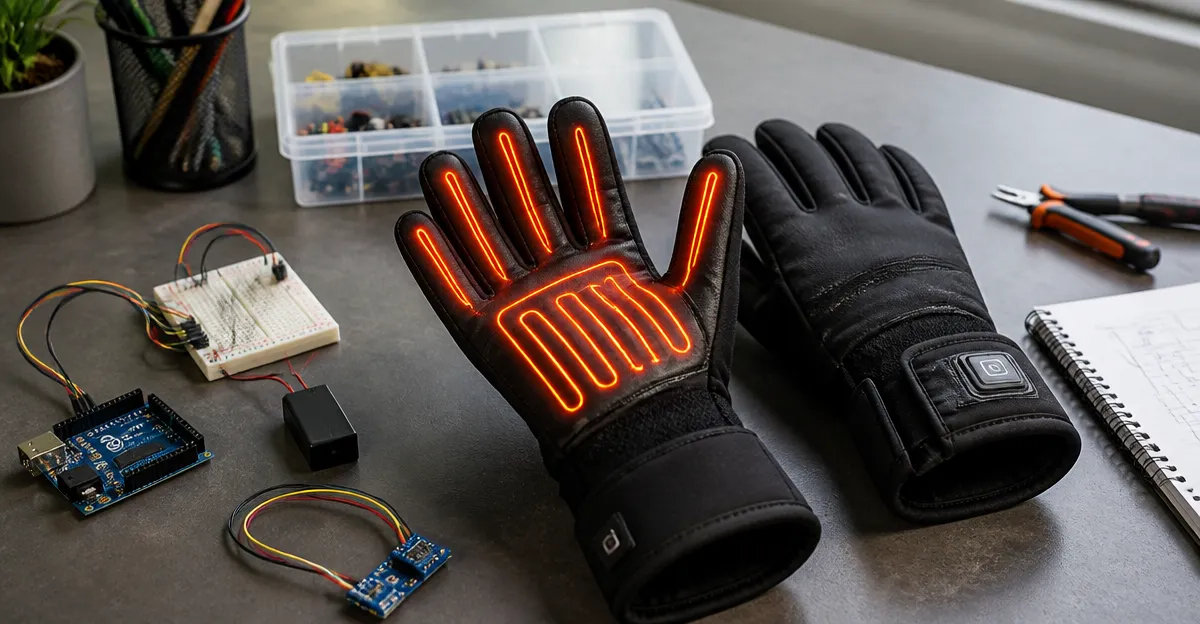
In this guide, the reader will learn how to design and assemble a custom multi‑zone heated glove that can be programmed with an Arduino microcontroller. The project provides precise temperature control for each fingertip, improves hand circulation for users with Raynaud’s or arthritis, and offers a reusable solution that can be adapted to a variety of outdoor activities. By following the steps, one will acquire practical skills in electronics, textile integration, and firmware development, while also understanding why specific off‑the‑shelf products make the build easier and more reliable.
What You’ll Need
- Arduino Nano or compatible board (micro‑controller)
- Temperature sensors (e.g., DS18B20 waterproof probes) – one per zone
- Silicone heating pads or carbon fiber strips – cut to fingertip size
- Rechargeable battery pack (5 V or 7.4 V depending on heating elements)
- Conductive thread and fabric glue
- Heat‑resistant wiring and a small switch
- Optional: 3‑D‑printed housing for the Arduino and battery
- Base glove liner – Royalrose Heated Glove Liners
- Outer protective glove – JUGEVI Heated Winter Gloves
- Additional battery module – PEKWZIZ Rechargeable Heated Gloves (used for its 6000 mAh pack)
Step‑by‑Step Instructions
Step 1: Gather Materials and Prepare the Workspace
Begin by laying out all components on a clean, static‑free surface. Verify that the Arduino Nano is functional by connecting it to a computer and uploading a basic blink sketch. The Royalrose Heated Glove Liners serve as an excellent base because they already contain thin, evenly distributed heating wires and a rechargeable 2500 mAh battery. Their waterproof and wind‑proof outer layer reduces the risk of moisture damage to the custom electronics, and the built‑in temperature adjustment switch can be repurposed as a manual override.
Step 2: Design the Multi‑Zone Layout
Identify the zones you wish to control independently – typically the thumb, index, middle, ring, and pinky fingers. Sketch a diagram on paper indicating where each DS18B20 sensor will sit and where the heating pads will be attached. The JUGEVI Heated Winter Gloves provide a robust outer shell with silicone‑grip palms and a waterproof exterior, making them ideal for housing the sensors and protecting the wiring from snow or rain. Their touch‑sensitive fingertips allow the finished glove to remain functional for smartphone use.
Step 3: Prepare the Arduino and Sensor Network
Connect each DS18B20 sensor to the Arduino using the OneWire library. Use a 4.7 kΩ pull‑up resistor on the data line to ensure reliable communication. Assign a unique address to each sensor in the firmware so the code can differentiate between zones. Mount the sensors on small fabric patches that can be sewn into the inner side of the Royalrose Heated Glove Liners. The sensors are waterproof, which aligns with the liner’s moisture‑wicking properties, preventing condensation from affecting readings.
Step 4: Integrate Heating Elements
Cut the silicone heating pads to match the fingertip dimensions of each zone. Solder thin gauge wires to the pads, ensuring the connections are insulated with heat‑shrink tubing. Attach the pads to the inside of the JUGEVI Heated Winter Gloves using conductive thread so the electrical path remains flexible during hand movements. The JUGEVI gloves already include a high‑capacity 7.4 V battery that can deliver rapid heating; however, for extended use, supplement the power with the 6000 mAh pack from the PEKWZIZ Rechargeable Heated Gloves. Their larger battery capacity (6000 mAh) provides up to 5 hours of continuous high heat, which is essential for multi‑zone control where each zone draws additional current.
Step 5: Assemble the Glove Layers
Layer the components in the following order: inner liner (Royalrose Heated Glove Liners), sensor patches, heating pads, and finally the outer shell (JUGEVI Heated Winter Gloves). Use a thin stretch fabric to secure the wiring along the back of the hand, avoiding pressure points that could impede circulation. The outer glove’s non‑slip palm ensures a secure grip while the inner liner’s silicone‑coated heating wire adds an extra safety layer against overheating.
Step 6: Program Temperature Control Logic
Upload a sketch that reads each sensor’s temperature, compares it to a user‑defined setpoint, and activates the corresponding heating pad via MOSFET transistors. Implement PWM (pulse‑width modulation) to modulate power and achieve fine‑grained temperature control. Include a simple serial interface that allows the user to adjust setpoints for each zone on a laptop or smartphone. The Arduino Nano’s compact size fits comfortably within a small pouch that can be sewn into the cuff of the outer glove, keeping the electronics protected from the elements.
Step 7: Test, Calibrate, and Refine
Power the system using the combined battery pack (JUGEVI’s 7.4 V battery plus PEKWZIZ’s 6000 mAh module). Verify that each zone reaches the desired temperature within 30 seconds, mirroring the rapid heating performance advertised by the JUGEVI Heated Winter Gloves. Use a handheld infrared thermometer to confirm uniform heat distribution. Adjust the PWM duty cycles if any zone runs hotter than intended. Finally, test the touchscreen functionality of the thumb and index fingertips to ensure the conductive PU material remains responsive.
Tips & Pro Tips
- When soldering to heating pads, work quickly to avoid damaging the silicone coating.
- Use heat‑resistant zip ties to bundle wires; this prevents accidental snagging during vigorous activities.
- Consider adding a small OLED display to the cuff for real‑time temperature readout.
- For extended outings, carry a spare 7.4 V battery from the PEKWZIZ Rechargeable Heated Gloves set; they are USB‑C rechargeable and can be swapped in under a minute.
- Apply a thin layer of silicone spray to the outer glove’s seams to improve water resistance, especially if you plan to use the glove in snow or rain.
Troubleshooting
| Problem | Possible Cause | Solution |
|---|---|---|
| One zone does not heat | Loose wire or faulty MOSFET | Inspect solder joints, replace MOSFET if necessary. |
| Temperature spikes above setpoint | Missing PWM control | Enable PWM or add a temperature‑hysteresis buffer. |
| Battery drains quickly | High‑current heating pads on all zones simultaneously | Activate zones sequentially or lower the heat level. |
Conclusion
By following this guide, the reader has created a fully functional, Arduino‑controlled multi‑zone heated glove. The project combines the reliable heating technology of the Royalrose Heated Glove Liners, the robust outer protection of the JUGEVI Heated Winter Gloves, and the long‑lasting power of the PEKWZIZ Rechargeable Heated Gloves. The result is a customizable wearable that can keep hands warm in extreme conditions while offering precise temperature management. One is encouraged to experiment with additional sensors, such as humidity or motion detectors, to further enhance the glove’s capabilities.
Products Mentioned in This Guide
Frequently Asked Questions
What components are needed to build a multi‑zone heated glove with Arduino?
You need an Arduino Nano (or compatible), DS18B20 temperature sensors, silicone heating pads or carbon fiber strips, a rechargeable 5 V or 7.4 V battery pack, conductive thread, heat‑resistant wiring, a switch, and a glove liner.
How can I control the temperature of each fingertip zone?
Program the Arduino to read each DS18B20 sensor and use PWM or a MOSFET driver to adjust power to the heating element in that zone.
What battery voltage is recommended for powering the heated glove?
A 5 V battery works with most Arduino boards, while a 7.4 V Li‑Po pack provides more headroom for higher‑power heating elements.
Which heating elements are best for fingertip heating?
Thin silicone heating pads or carbon fiber strips cut to fingertip size offer rapid, flexible heat and are easy to sew into the glove.
Is the DIY heated glove safe for users with Raynaud’s or arthritis?
When temperature limits are set in the firmware and the glove is insulated properly, it provides gentle warmth that can improve circulation without risk of burns.